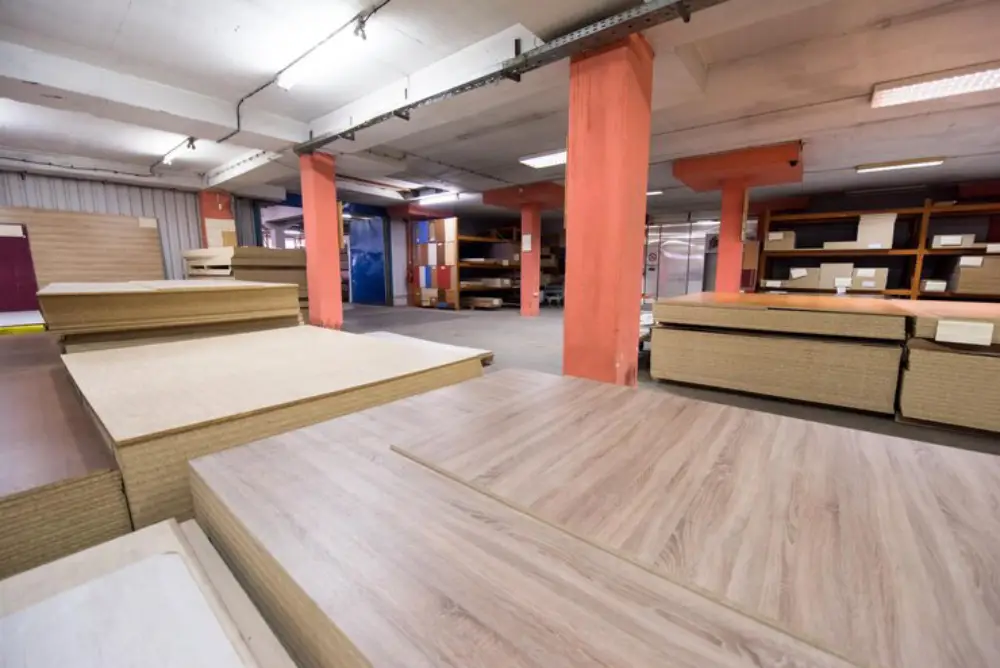
Engineered hardwood flooring has become a popular choice for homeowners due to its durability, versatility, and ease of installation. Whether you’re planning to install it yourself or hire a professional, understanding the process can help ensure a successful project. This comprehensive guide will walk you through everything you need to know about installing engineered hardwood flooring, including preparation, methods, tools, and tips for long-lasting results.
What Is Engineered Hardwood Flooring?
Engineered hardwood flooring is composed of multiple layers of wood. The top layer is real hardwood, providing the natural beauty and warmth of solid wood, while the underlying layers are typically made of high-density fiberboard (HDF) or plywood, offering stability and resistance to moisture. This construction makes engineered hardwood an excellent option for a wide range of environments.
Benefits of Installing Engineered Hardwood Flooring
- Durability: Resistant to temperature and humidity changes.
- Versatility: Can be installed in basements, over concrete, or radiant heating systems.
- Aesthetic Appeal: Offers the look and feel of solid hardwood.
- DIY-Friendly: Easier to install compared to solid hardwood.
Tools and Materials Needed
Tools:
- Measuring tape
- Chalk line
- Circular saw or jigsaw
- Flooring nailer or stapler
- Rubber mallet
- Tapping block
- Pull bar
- Level
- Moisture meter
- Safety gear (gloves, goggles, ear protection)
Materials:
- Engineered hardwood planks
- Underlayment
- Adhesive (if required)
- Nails or staples
- Transition strips
- Baseboards or quarter-round molding
Step-by-Step Installation Process
Step 1: Prepare the Subfloor
Proper preparation is crucial for a smooth and durable installation.
- Clean the Subfloor: Remove any debris, dust, or old adhesive.
- Check for Levelness: Use a level to ensure the subfloor is even. Sand down high spots and fill low spots with a leveling compound.
- Test Moisture Levels: Use a moisture meter to check the subfloor’s moisture content. Ensure it meets the manufacturer’s recommendations.
Step 2: Acclimate the Flooring
Place the engineered hardwood planks in the room where they will be installed for 48-72 hours. This allows them to adjust to the room’s temperature and humidity, preventing expansion or contraction after installation.
Step 3: Choose an Installation Method
There are three main methods for installing engineered hardwood flooring:
- Floating Floor:
- Planks are clicked or locked together without being attached to the subfloor.
- Ideal for DIY projects and can be installed over most subfloors.
- Glue-Down:
- Planks are adhered to the subfloor using a special flooring adhesive.
- Provides excellent stability and soundproofing.
- Nail-Down or Staple-Down:
- Planks are secured to the subfloor with nails or staples.
- Commonly used for wooden subfloors and provides a traditional feel.
Step 4: Install the Underlayment
If required, lay the underlayment over the subfloor. This provides cushioning, reduces noise, and acts as a moisture barrier.
Step 5: Start Laying the Planks
- Plan the Layout: Measure the room and determine the starting point. Stagger the seams of the planks for a natural look.
- Lay the First Row: Place the first row of planks with the groove side facing the wall. Use spacers to maintain a consistent expansion gap (usually 1/4 inch).
- Continue Laying Planks: Use the chosen installation method to secure each plank, ensuring tight seams. Use a tapping block and mallet to lock the planks together if needed.
- Cut Planks to Fit: Use a circular saw or jigsaw to cut planks to fit around obstacles and at the edges of the room.
Step 6: Install Transition Strips and Molding
- Install transition strips at doorways or where the flooring meets other types of flooring.
- Attach baseboards or quarter-round molding to cover the expansion gap along the walls.
Tips for a Successful Installation
- Follow Manufacturer’s Instructions: Each brand may have specific guidelines for installation.
- Work in Small Sections: Especially for glue-down installations, work in small areas to prevent the adhesive from drying out.
- Inspect Each Plank: Check for defects before installation.
- Maintain Consistent Gaps: Ensure expansion gaps are consistent along all walls.
- Use Proper Tools: Avoid damaging the planks by using the right tools and techniques.
Post-Installation Care
Proper maintenance ensures your engineered hardwood flooring remains beautiful and functional for years to come.
Cleaning Tips:
- Sweep or vacuum regularly to remove dirt and debris.
- Use a damp mop with a cleaner designed for hardwood floors.
- Avoid excessive water or harsh chemicals.
Protecting Your Floor:
- Place rugs in high-traffic areas.
- Use furniture pads to prevent scratches.
- Maintain a consistent indoor humidity level to prevent warping or gaps.
Hiring a Professional Installer
If you’re not confident in your DIY skills, hiring a professional installer is a wise choice. Look for:
- Experience: Check their portfolio and reviews.
- Certification: Ensure they’re certified by flooring associations.
- Warranty: Ask about warranties for both labor and materials.
Cost of Installation
The cost of installing engineered hardwood flooring varies depending on factors like the size of the room, installation method, and labor rates. On average:
- DIY Costs: $2 to $5 per square foot for materials.
- Professional Installation: $3 to $8 per square foot for labor.
Common Mistakes to Avoid
- Skipping Acclimation: This can lead to buckling or gaps.
- Ignoring Subfloor Preparation: Uneven or dirty subfloors can cause issues.
- Incorrect Tools: Using the wrong tools can damage the planks.
- Forgetting Expansion Gaps: Essential for accommodating natural wood movement.
Conclusion
Installing engineered hardwood flooring is a rewarding project that adds value and beauty to your home. Whether you choose to tackle the installation yourself or hire a professional, understanding the process ensures a successful outcome. By following this guide, you can enjoy the elegance and durability of engineered hardwood flooring for years to come.
